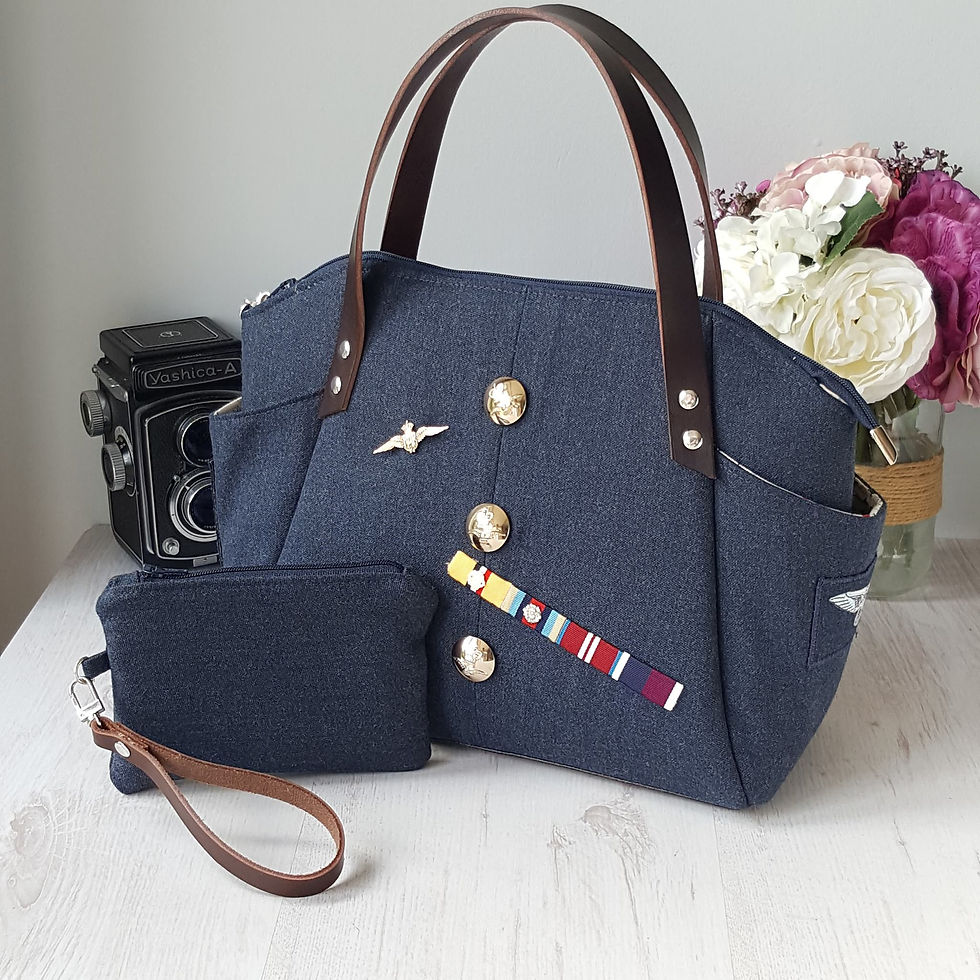
What goes into a Handbags and Home handmade bag?
- Heidi B
- Apr 24, 2017
- 2 min read
A customer ordered a Harris Tweed tote bag recently, and was really interested in seeing photos of her bag in progress - it's not often you get to see your handbag from raw materials to the finished process and various stages in between (unless you make bags of course!) So i took a few photos as I went along, although I did forget a few stages as I just get carried away whilst sewing!

This little pile is a pile of the raw materials and tools that I use (other than the sewing machine) in amongst this lot is Harris Tweed (black and grey herringbone as requested by my customer), black cotton fabric for the lining, zip, leather for the straps, cotton interfacing to support the fabric, foam interfacing to give the bag it's firm shape and structure, and there's also my trusty Fiskars scissors, black cotton thread, quilting ruler for cutting fabric (rotary cutter is missing from this picture) and bradawl for poking holes in stuff!
The next stage is to measure and cut out the basic materials, I didn't get a full photo of all the separate bits cut out, but here they are after I'd started to put it together.

By this point I'd applied the the interfacing and foam to the reverse of the fabric, and also attached the narrow strip of Harris Tweed to the top of the lining pieces. The next step then was the lining pockets. I put an inset zip pocket in on one side of the lining...

And some slip pockets in the other (sized to fit the customers phone) I also added a keychain clip for attaching her keys to stop them getting lost in her bag!

Once I'd sewn the exterior together, I then did the same to the lining pieces, ready to put the two together.

The exterior is turned the right side out, the lining is left with the wrong side out for me to put the two together. And then, it's the fun bit - turning!

This is the point where I hold my breath, cross my fingers and pull! When the lining and exterior are sewn together, the exterior is inside the lining. There is a small hole in the lining seam, and the bag is then pulled through the whole - in bag-making circles this is called "birthing" the bag, and I completely understand that!
Once turned, and the hole is sewn up, and a little final finishing stitching is done, we have a bag - tah-dah!

One finished bag, and one more happy Handbags and Home customer :-) This bag is now with it's new owner, over in Texas, USA!
p.s. If you're interested, the total time it takes me to make this bag is around 6 hours of solid work.


Comments